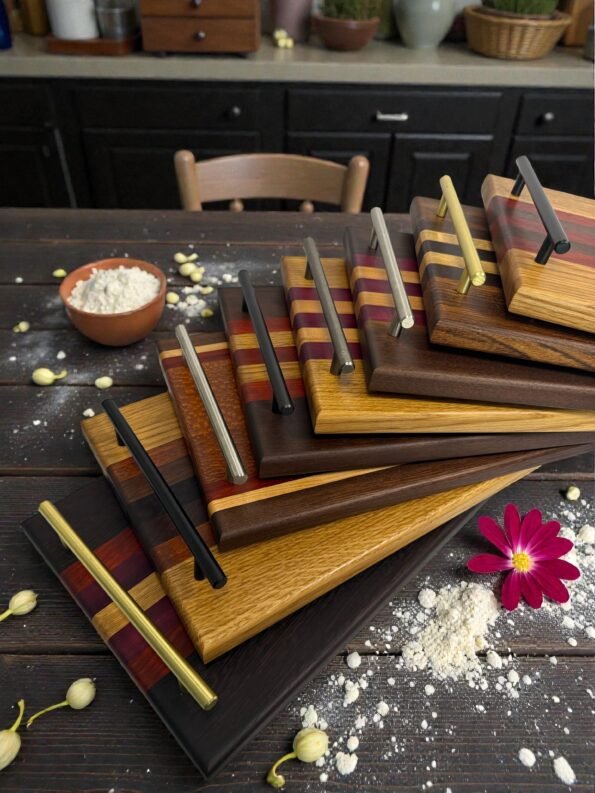
Maintaining Chopping Boards: A Guide to Using Mineral Oil
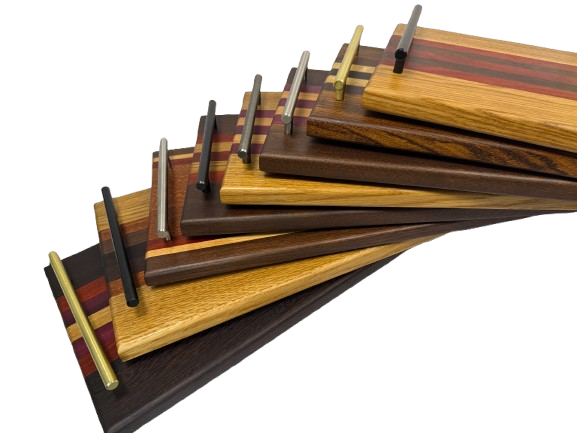
Chopping boards are essential tools in every kitchen, but they require proper care to ensure longevity and food safety. One effective method for maintaining chopping boards is to use mineral oil. In this guide, we’ll explore the benefits of mineral oil, step-by-step instructions for application, and some tips to keep your chopping boards in top condition.
Benefits of Mineral Oil
Hydration and Protection
Mineral oil helps prevent chopping boards from drying out and cracking by providing a protective barrier against moisture.
Non-Toxic
Unlike some other oils, mineral oil is food-safe and won’t go rancid, making it a perfect choice for surfaces that come into contact with food.
Easy Application
Mineral oil is easy to apply, requiring minimal effort and time.
Step-by-Step Guide
0
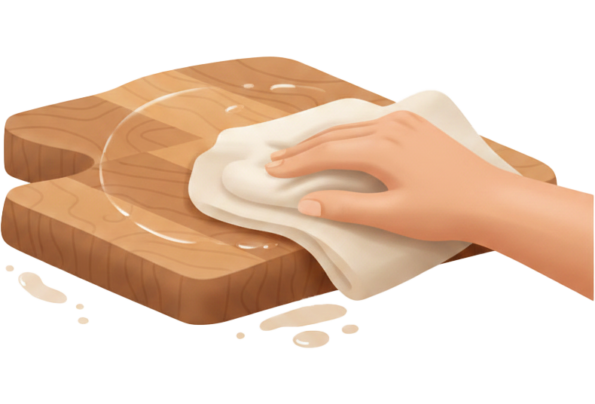
Clean the Chopping Board:
Start by cleaning the chopping board thoroughly. Use a mild dish soap and warm water to remove any food particles and bacteria. Allow it to air dry completely.
0
Sand the Surface
If your chopping board has rough spots or scratches, consider lightly sanding the surface with fine-grit sandpaper. This step is optional but can help create a smoother finish.
0
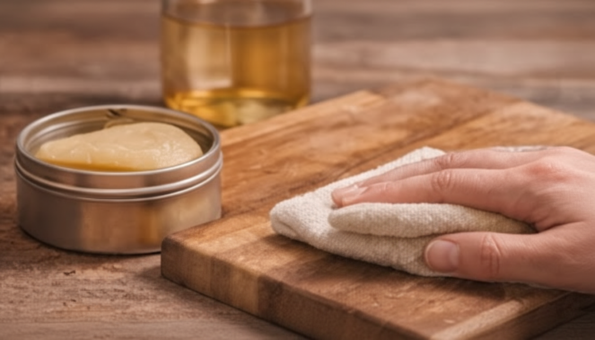
Apply Mineral Oil
Pour a small amount of mineral oil onto the chopping board. Use a clean, soft cloth, applicator sponge or paper towel to spread the oil evenly across the surface. Ensure you cover the entire board, including the edges.
0
Let it Soak
Allow the mineral oil to soak into the wood for at least 20-30 minutes. This gives the oil a chance to penetrate the pores and nourish the wood.
0
Wipe Off Excess
After the soaking period, use a dry cloth to wipe off any excess oil. This step helps prevent an oily residue on the board and ensures a smooth, non-sticky surface.
0
Repeat as Needed
Depending on usage and environmental conditions, repeat the mineral oil application every few weeks or when the board starts to appear dry. Regular maintenance will keep your chopping board in optimal condition.
By incorporating mineral oil into your chopping board maintenance routine, you can extend its lifespan and keep it in excellent condition. This simple yet effective method not only nourishes the wood but also enhances the overall kitchen hygiene and food safety. Regular care will ensure your chopping boards remain reliable and functional for years to come.
Step
0
Start by cleaning the chopping board thoroughly. Use a soft-bristle brush or sponge, mild dish soap, and warm water to remove any food residues, stains, or bacteria. Pat it dry with towels or kitchen roll. Ensure the board is completely dry before proceeding. Never soak your wooden chopping board in water
Step
0
Sand the Surface (If Needed) If the chopping board has rough spots or scratches, lightly sand the surface using fine-grit sandpaper (220-320 grit). Sand in the direction of the wood grain to avoid creating new scratches. Wipe away any dust with a clean cloth (optional)
Step
0
Apply the conditioner generously onto the chopping board using a clean, lint-free cloth or applicator pad. Ensure complete coverage, focusing on dry or exposed areas. Let the conditioner penetrate the wood for about 20-30 minutes.
Step
0
After the conditioning period, use a clean cloth to wipe off any excess conditioner. This step is crucial to prevent a sticky or greasy feel on the surface. Ensure thorough removal while leaving a thin, even layer of the conditioner on the wood.
Step
0
For an extra smooth and lustrous finish, you can buff the surface with a clean, dry cloth after the conditioner has dried. This step is optional but can enhance the appearance of the chopping board.
Step
0
Depending on usage and exposure, you may need to reapply the beeswax conditioner periodically. Follow the same application process to keep your chopping board well-maintained and protected.
Step
0
Clean your chopping board regularly with a mild dish soap and warm water, avoiding harsh chemicals or abrasive pads. Reapply the beeswax conditioner as needed to maintain its appearance and protective qualities.
Start by cleaning the chopping board thoroughly. Use a soft-bristle brush or sponge, mild dish soap, and warm water to remove any food residues, stains, or bacteria. Pat it dry with towels or kitchen roll. Ensure the board is completely dry before proceeding. Never soak your wooden chopping board in water
Note
On New/unseasoned boards we would always recommend applying our pure mineral oil before our beeswax conditioner.
Full Restoration guide.
(For heavily worn, dry, stained or rough boards)
If your board has become very dry, deeply scratched, stained, or rough to the touch, it may need a full restoration. This process returns the board back to bare timber so it can be refinished properly.
What you will need
Belt, orbital or hand sander
Sandpaper (80,120,180,220 and 320 grit)
Clean, lint free cloths
Food grade mineral oil
Beeswax and mineral oil conditioner
Disposable gloves (optional)
Small sponge
Step
0
Sand back to bare timber
Start with 80 grit sandpaper to remove the old finish and deeper knife marks
Move to 120 grit, then 220 grit to smooth the surface and to remove the more heavy grit sanding marks that might be seen.
Finish with 320 grit for a silky smooth surface. (You can go to 400 grit if you would like)
Tips
Always sand with the grain and ensure the entire surface is evenly sanded.
Don’t forget the edges and corners.
Wipe away all sanding dust with a clean, dry cloth (or slightly damp cloth) and allow the board to full dry before oiling
Step
0
Re-Oil the board
Once the board is completely clean and dry:
Apply a generous coat of food – grade mineral oil.
Rub it in thouroughly with a lent free cloth
Allow the oil to soak in for several hours or overnight.
Wipe away any excess oil.
Repeat if the wood still appears dry (very dry boards may need 2-3 coats.)
The timber should look rich and evenly saturated, not patchy.
Step
0
Apply beeswax and mineral oil conditioner
After the final coat of mineral oil has absorbed fully: 1. Apply a thin layer of conditioner with the sponge in circular motions. 2. Buff it into the surface using a clean cloth following the grain. 3. Allow it to sit for a good 20-30 minutes (depending on room temperature) 4. Buff again to a smooth, soft sheen. 5. I like to put 2 coats of conditioner on for added protection but this is up to you. If you would like to allow the conditioner to dry on the first coat and repeat step 3 again.
After Restoration Care
After Restoration Care
Allow the board to cure for 24 hours before use.
Resume regular maintenance with mineral oil as needed.
Use the conditioner periodically to protect and seal the surface.
Important Care Reminders
Never soak your board in water.
Do not place in the dishwasher.
Never use harmful chemicals (only a mild soapy water)
When cleaned dry off any excess water with a tea towel and allow to dry upright after washing, this will allow air flow to spread evenly around the board to prevent any cupping.
Oil regularly to prevent cracking or splitting
With proper restoration and ongoing care, your board will last for many years to come and continue to age beautifully.